


Unistrut Shelving Tutorial: How to Build Heavy Duty Shelves
How to Build Heavy Duty Storage Shelves
In this blog post, we're going to cover how to build shelving with the Unistrut metal framing system, but first let's dive into a bit of Unistrut history. Did you know that just about everything we build needs to have a frame? It does, and Unistrut is the world's most flexible, all-purpose metal framing system. Some of the earliest and most common uses for metal framing include building Unistrtut shelving. Undoubtedtly that has to do with how simple and effective the system is, along with how customizable and adjustible it is.
The basic components of the Unistrut system are simple, yet wonderfully effective.
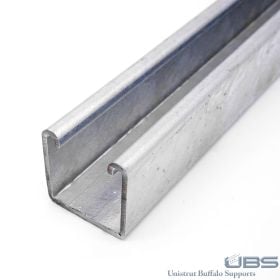
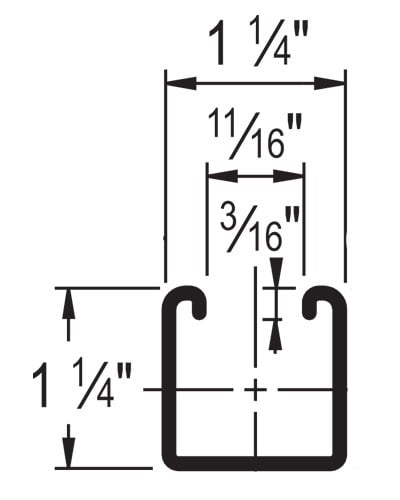
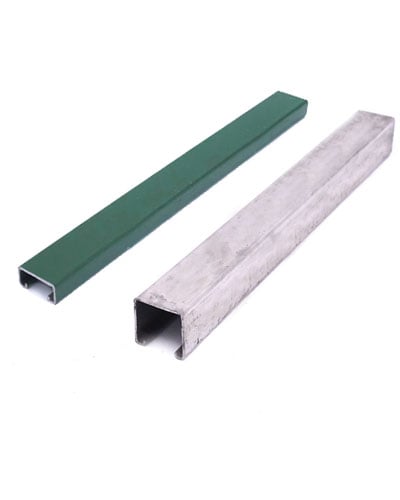
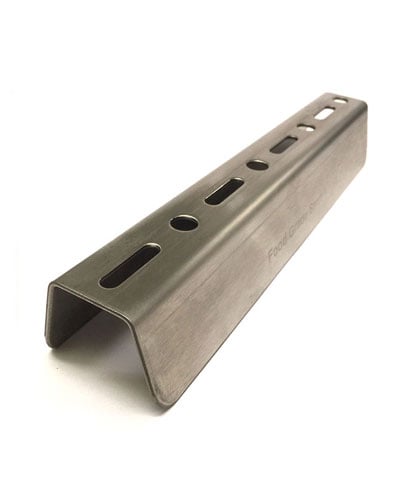
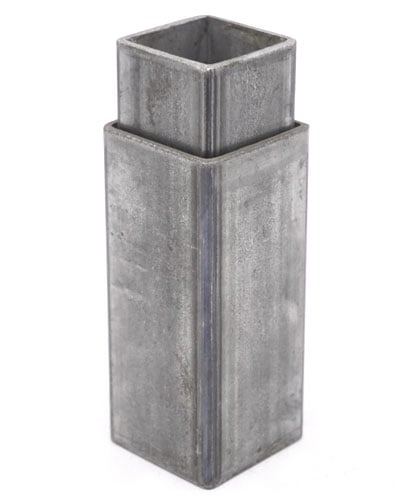
- Unistrut Channel
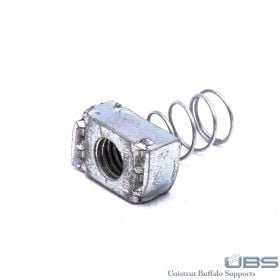
- Unistrut Spring Nut
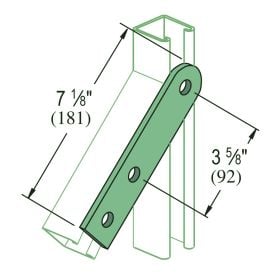
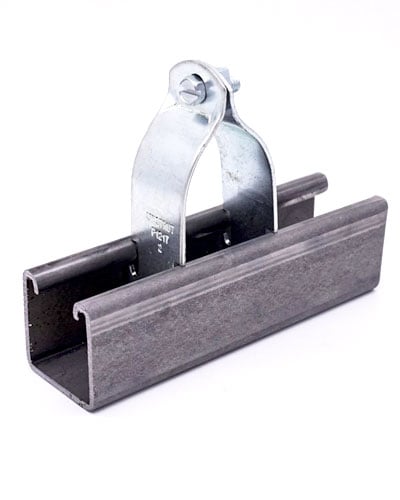
- Unistrut Fitting
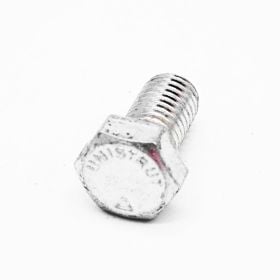
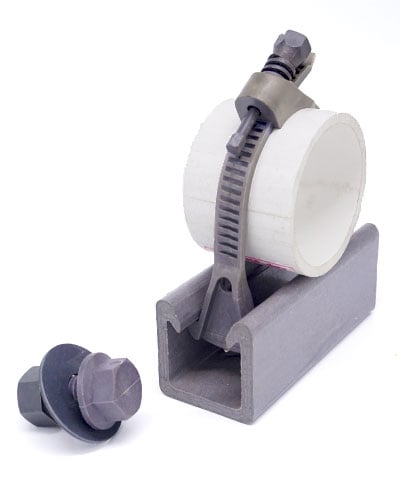
- Unistrut Bolt (Hex Head Cap Screw)
These four basic components all work together to create the perfect solution for all your metal framing needs.
Here's how:
Inturned edges on the open side of the strut channel provide a grip for the clamping nut (spring nut). Spring nuts are designed with rounded edges so they can be easily turned, and oriented to their proper position, while inside the strut channel. The spring provides the proper amount of resistance to keep the nut right where you want it while positioning and tightening your fitting into place with your bolt.
The Unistrut system eliminates the need for exact location and drilling of holes. Fittings can be placed anywhere along the entire length of the open channel face and then tightened into place with spring nuts and bolts. The applications for Unistrut framing are practically endless, but don't take our word for it!
For more interesting and exciting history on Unustrut Metal Framing and how it works, take a look at this Disney illustrated video, circa 1954, called, 'The Sky's the Limit'.
Unistrut Video: The Sky's the Limit (Walt Disney, 1954)
How to Build Unistrut Shelving
Now that our history lesson is out of the way, let's get down to the nuts and bolts of the matter! The reason you're reading this blog post. You want to know how to build Unistrut shelving. Not only are we going to tell you that, but we're also going to show you! Who doesn't love a good show and tell?
Feel free to watch the below video, 'How to Build a Rack'. It's a great resource to refer to for step by step audio and visual instruction on how to build a Unistrut rack that is 7 feet tall and 8 feet long. But you can also use these same design ideas and building principles and apply them to your own custom design to fit the specific needs of your project.
If you'd rather look at a materials list, along with a numbered list of step by step instuctions, than sit there and watch the video, or if you'd like to have all of these resources on hand while you're buildinga Unistrut rack of your own, you're in luck! We're going to break it all down for you below.
Unistrut Video: How to Build a Rack
Unistrut Rack Building - Step by Step Instructions
Assembly Time: Approximately 1 Hour
- For the end stanchions: place (2) 7 foot lengths of Unistrut channel two feet apart, with the channel slots (open side of strut channel) facing each other. These are the uprights.
- Beginning at the top of the uprights, place (4) 21 inch lengths of channel every two feet, with the slots facing down. These are the crossmembers of the stanchion. be sure to leave a 1-5/8" space between each end of the crossmembers and the uprights. This will give you a place to insert the sringers, later in the assembly. It's a good idea to keep a small piece of scrap channel, to use as a spacer, to maintain a consistent space for the stringers.
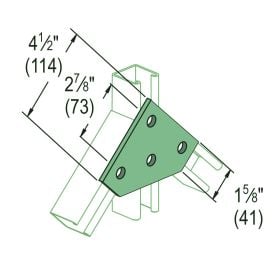
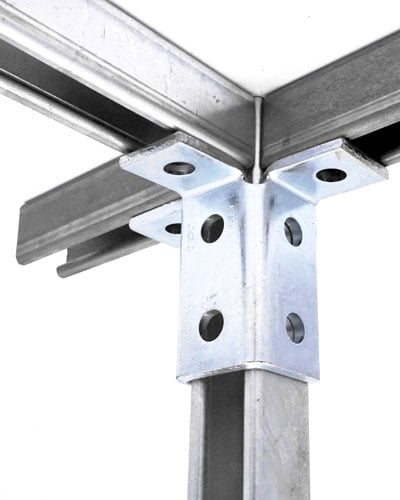
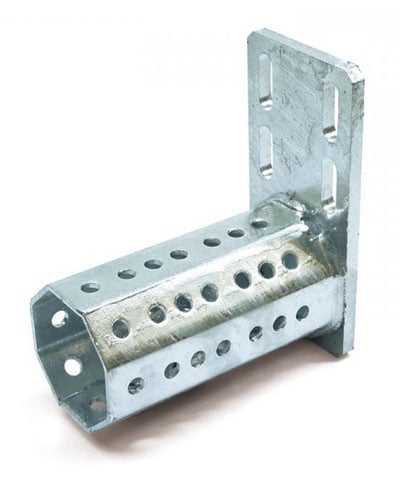
- To complete the layout, position P2484 gusseted end angle fittings under both the top and bottom crossmembers. The gussetted end fittings provide exceptional stability.
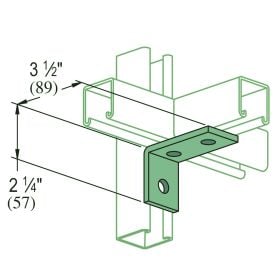
- Position P1458 angle fittings under the two middle crossmembers, and be sure to place the single hole angle against the uprights. You can now see the shape of the first stanchion.
- Holding the stanchion members together is as easy as one, two, three! Just insert a clamping nut in the channel slot, opposite the hole in each fitting.
- Place a bolt through the hole in the fitting. Engage the threads of the clamping nut and tighten.
- When all uprights, crossmembers, and fittings have been securely bolted together and checked for accuracy, the first stanchion can be used as a template for the remaining stanchions. This makes the process of building the remaining two stanchions move more quickly, and ensures consistent dimensions.
- Now, stand the completed stanchions in their upright positions, and insert (8) 8 foot lengths of channels, slot down, in the spaces provided for the stringers.
- Using Unistrut clamping nuts and bolts, connect the stringers to the stanchions.
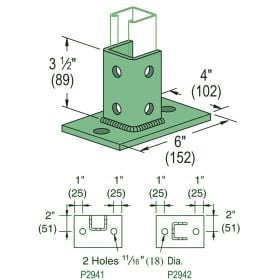
- To anchor the uprights to the floor, attach a post base to column members.
- Next, attach a brace fitting to the top portion of the center stanchions
- Connect (2) 62-3/4" lengths of channel to this connector. These are the braces.
- Attach the braces to the lower portion of the stanchions with the P2324 swivel plates.
- Silde in the plywood and the storage rack is complete.
Materials List for One 7 ft High x 8 ft Long x 2 ft Deep Unistrut Rack
Be sure to scroll down, to the end of this blog post, for links to all of the Unistrut hardware and fittings products mentioned in this materials list.
(3) Stanchions: (2) End Stanchions and (1) Middle Stanchion
For EACH End Stanchion, you will need:
(2) 7 ft lengths P1000 channel [6 total]
(4) 21" lengths P1000 channel [12 total]
(4) P2484 Gusseted End Angle Fittings [12 total]
(4) P1458 90 Degree Angle Fittings [12 total]
(42) P1010 1/2" Spring Nuts (some of these will be used to attach stringers) [126 total]
(42) HHCS050019 1/2" x 15/16" Hex Head Cap Screws (some of these will be used to attach stringers) [126 total]
Stringers
(8) 8 ft lengths of P1000 channel
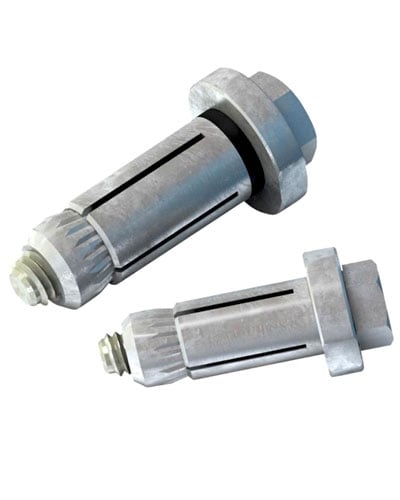
(Optional) Post Bases, for Concrete
(6) P2941 / P2942 Post Bases
(18) P1010 1/2" Spring Nuts
(18) HHCS050019 1/2" x 15/16" Hex Head Cap Screws
Brace Supports
(1) P1962 Brace Fitting
(2) P2324 Swivel Plates
(10) P1010 1/2" Spring Nuts
(10) HHCS050019 1/2" x 15/16" Hex Head Cap Screws
Shelves
(4) 2 ft x 8 ft lengths of plywood (or shelving material of your choice)
Download Unistrut Rack Materials List
We Have Tons More Unistrut Shelving Ideas for You
Slide the plywood out of your Unistruttracking and it becomes something else entirely! Now you have a frame that is readymade to support pipe, conduit, cable, or cable tray. Refer to the last quarter of the, 'How to Build a Rack' video to learn more about how to utilize your Unistrut frame for a host of other exciting applications, including:
- Electrical Applications
- Mechanical Applications
- Industrial Applications
- Medical Applications
- O.E.M - Original Equipment Manufacturing Applications
- Architectiural & Commercial Applications
Keep Scrolling Down
For links to all of the Unistrut Channel, Fittings, and Hardware mentioned in this post